
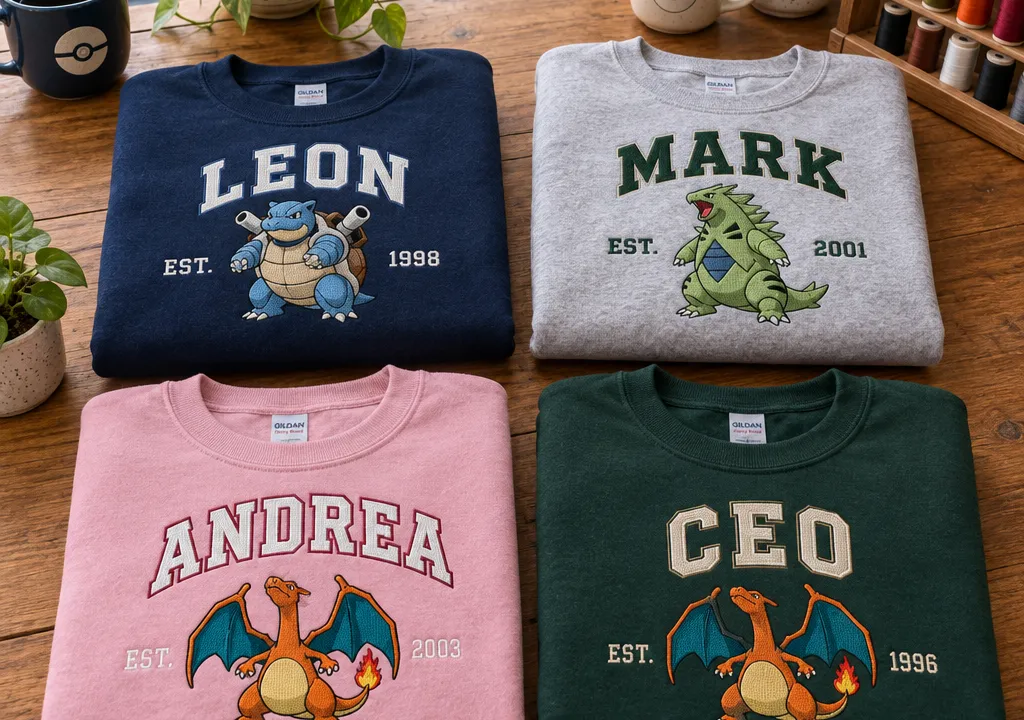
Sweatshirts are one of the best garments to embroider, but the fabric stretches. Stabilizing and hooping correctly matter more than anything else. Get those right and your design stays smooth wash after wash.
Hand embroidery vs machine embroidery
| Hand embroidery | Machine embroidery | |
|---|---|---|
| Cost to start | Very low | Higher |
| Best for | One-off, artistic designs | Logos, characters, matching sets |
| Speed | Slow | Fast |
| What you need | Hoop, needle, floss, stabilizer | Machine, hoop, thread, stabilizer |
| Design input | Traced or drawn onto the fabric | Digitized file such as PES or DST |
This guide covers machine embroidery. Your machine can’t stitch a PNG or SVG directly. It needs a digitized embroidery file in its format. Our embroidery file format guide explains which one your machine reads.
What you need
- A digitized design that fits your hoop (check it with our hoop size guide)
- No-show mesh or medium cut-away stabilizer
- Water-soluble topper for fleece or textured fabric
- Embroidery thread and a ballpoint embroidery needle, which is kinder to knits
- Washable fabric marker or pins
- Optional: a magnetic hoop or temporary spray adhesive
The layer order
From top to bottom, a sweatshirt hoop looks like this:
- Water-soluble topper (optional, recommended on fleece)
- Sweatshirt fabric, right side up
- Cut-away or no-show mesh stabilizer
- Hoop
For more on choosing support, read how to choose stabilizer for a sweatshirt.
Placement tips
- Adult chest: centered, about 3 inches (7–8 cm) below the neckline seam.
- Kids’ sizes: move the design up and scale it down to match.
- Left chest: about 7–9 inches (18–23 cm) down from the shoulder seam and about 4 inches (10 cm) from center.
- Sleeve: center the design along the sleeve, a few inches above the cuff.
Measurements vary with size and fit, so always preview the stitch-out footprint on the garment before you press start.
Common mistakes
- Stretching the knit in the hoop. It springs back after stitching and puckers.
- Tear-away stabilizer alone. It doesn’t support knits through washing.
- Skipping the topper on fleece. Fine details and lettering sink into the pile.
- Oversizing a dense design. Enlarging too far changes stitch density. Choose a supplied size instead.
- Sewing the sweatshirt closed. Check under the hoop before every color change.
Ready-to-stitch sweatshirt designs
Pokipika makes digitized character and personalized designs in popular machine formats. Browse personalized sweatshirt embroidery designs or cute character embroidery designs. For a small left-chest design, try our minimal funny embroidery designs.
Step-by-step checklist
- Choose a digitized design that fits your hoopUse a digitized embroidery file in your machine’s format (PES, DST, JEF, VP3 or EXP), and pick a supplied size that fits your usable hoop area. A PNG or SVG image cannot be stitched directly.
- Prewash and press the sweatshirtWash and dry the sweatshirt first so it shrinks before stitching, not after. Press out creases around the design area.
- Mark the placementFold the sweatshirt in half to find the vertical center. For an adult chest design, a common starting point is about 3 inches (7–8 cm) below the neckline seam; use less for kids’ sizes. Mark the center with a washable marker or pins.
- Add stabilizer behind the fabricPlace a no-show mesh or medium cut-away stabilizer under the design area. Knits stretch, so tear-away alone usually lets the stitches distort over time.
- Add a topper on fleece or textured fabricLay a water-soluble topper over the design area so small details and satin stitches sit on top of the pile instead of sinking in.
- Hoop without stretching the knitHoop the sweatshirt and stabilizer together so the fabric is smooth and flat but not pulled tight. Stretched fabric relaxes after stitching and causes puckering. A magnetic hoop makes this easier on thick fleece.
- Keep the rest of the sweatshirt away from the needleTurn the sweatshirt so the back, sleeves and hem are gathered away from the stitching area. Clip them out of the way so you don’t sew the garment closed.
- Stitch and watch the first layersTrace the design outline on the machine first, then start stitching. Watch the first color closely for thread breaks or fabric caught under the hoop.
- Finish and clean upTrim jump stitches, cut the stabilizer about ¼ inch (5 mm) from the design and remove the topper with water. Press from the back through a cloth.
Frequently asked questions
What stabilizer is best for sweatshirt embroidery?
A no-show mesh or medium cut-away stabilizer is the usual choice for sweatshirts, because it keeps supporting the stitches after washing. Add a water-soluble topper on fleece or textured surfaces.
Why does my sweatshirt embroidery pucker?
Puckering usually comes from stretching the knit while hooping, using too little stabilizer, or a design that is too dense for the fabric. Hoop the fabric flat but relaxed and use cut-away support.
Where should I place a design on a sweatshirt?
For an adult chest design, a common starting point is about 3 inches (7–8 cm) below the neckline seam, centered. Always check the preview against the garment before stitching.
Can I use a PNG image for machine embroidery?
No. An embroidery machine needs a digitized stitch file such as PES, DST, JEF or VP3. Digitizing turns artwork into stitch instructions.
Is hand or machine embroidery better for sweatshirts?
Hand embroidery is cheap to start and suits one-off, artistic pieces. Machine embroidery is faster and more consistent, so it suits logos, characters and matching sets.